How To Wrap A Sprained Ankle( Step by Step)
When the ankle twists, rolls, or turns awkwardly, it can lead to a common injury known as a sprained ankle. This injury affects both athletes and non-athletes and involves damage to ligaments and tendons in the ankle. Approximately 25,000 cases of sprained ankles are reported daily, according to our research.
During a sprained ankle, the ligament, which holds the ankle bones and joint in place, is stretched, torn, and displaced from its normal position. This can cause significant pain for the individual.
Sprained ankles typically occur when the foot is forced into an unnatural position, causing the ligament to overstretch and potentially tear. This results in pain and difficulty bearing weight on the affected ankle. Prompt treatment is crucial to facilitate healing and prevent long-term complications.
Table of Contents
Why a Sprained Ankle Should Be Wrapped
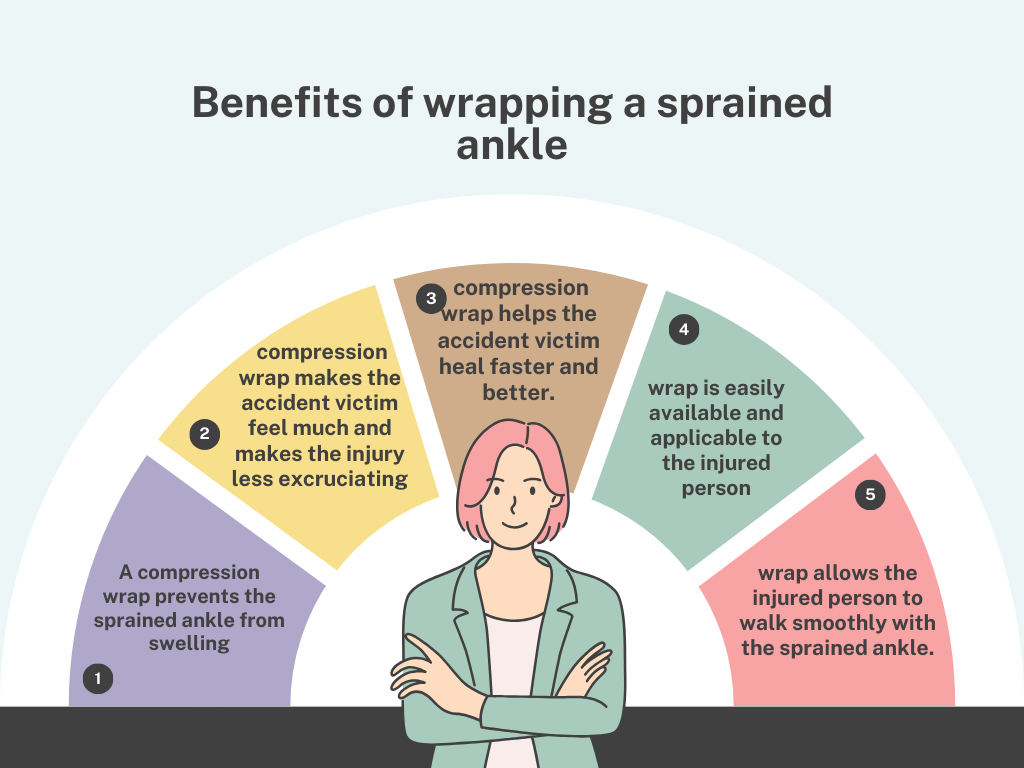
Applying a compression wrap on the sprained ankle has myriad health benefits.
Some of these benefits include:
- A compression wrap prevents the sprained ankle from swelling
- A compression wrap makes the accident victim feel much and makes the injury less excruciating
- Applying a compression wrap helps the accident victim heal faster and better.
- A compression wrap is easily available and applicable to the injured person
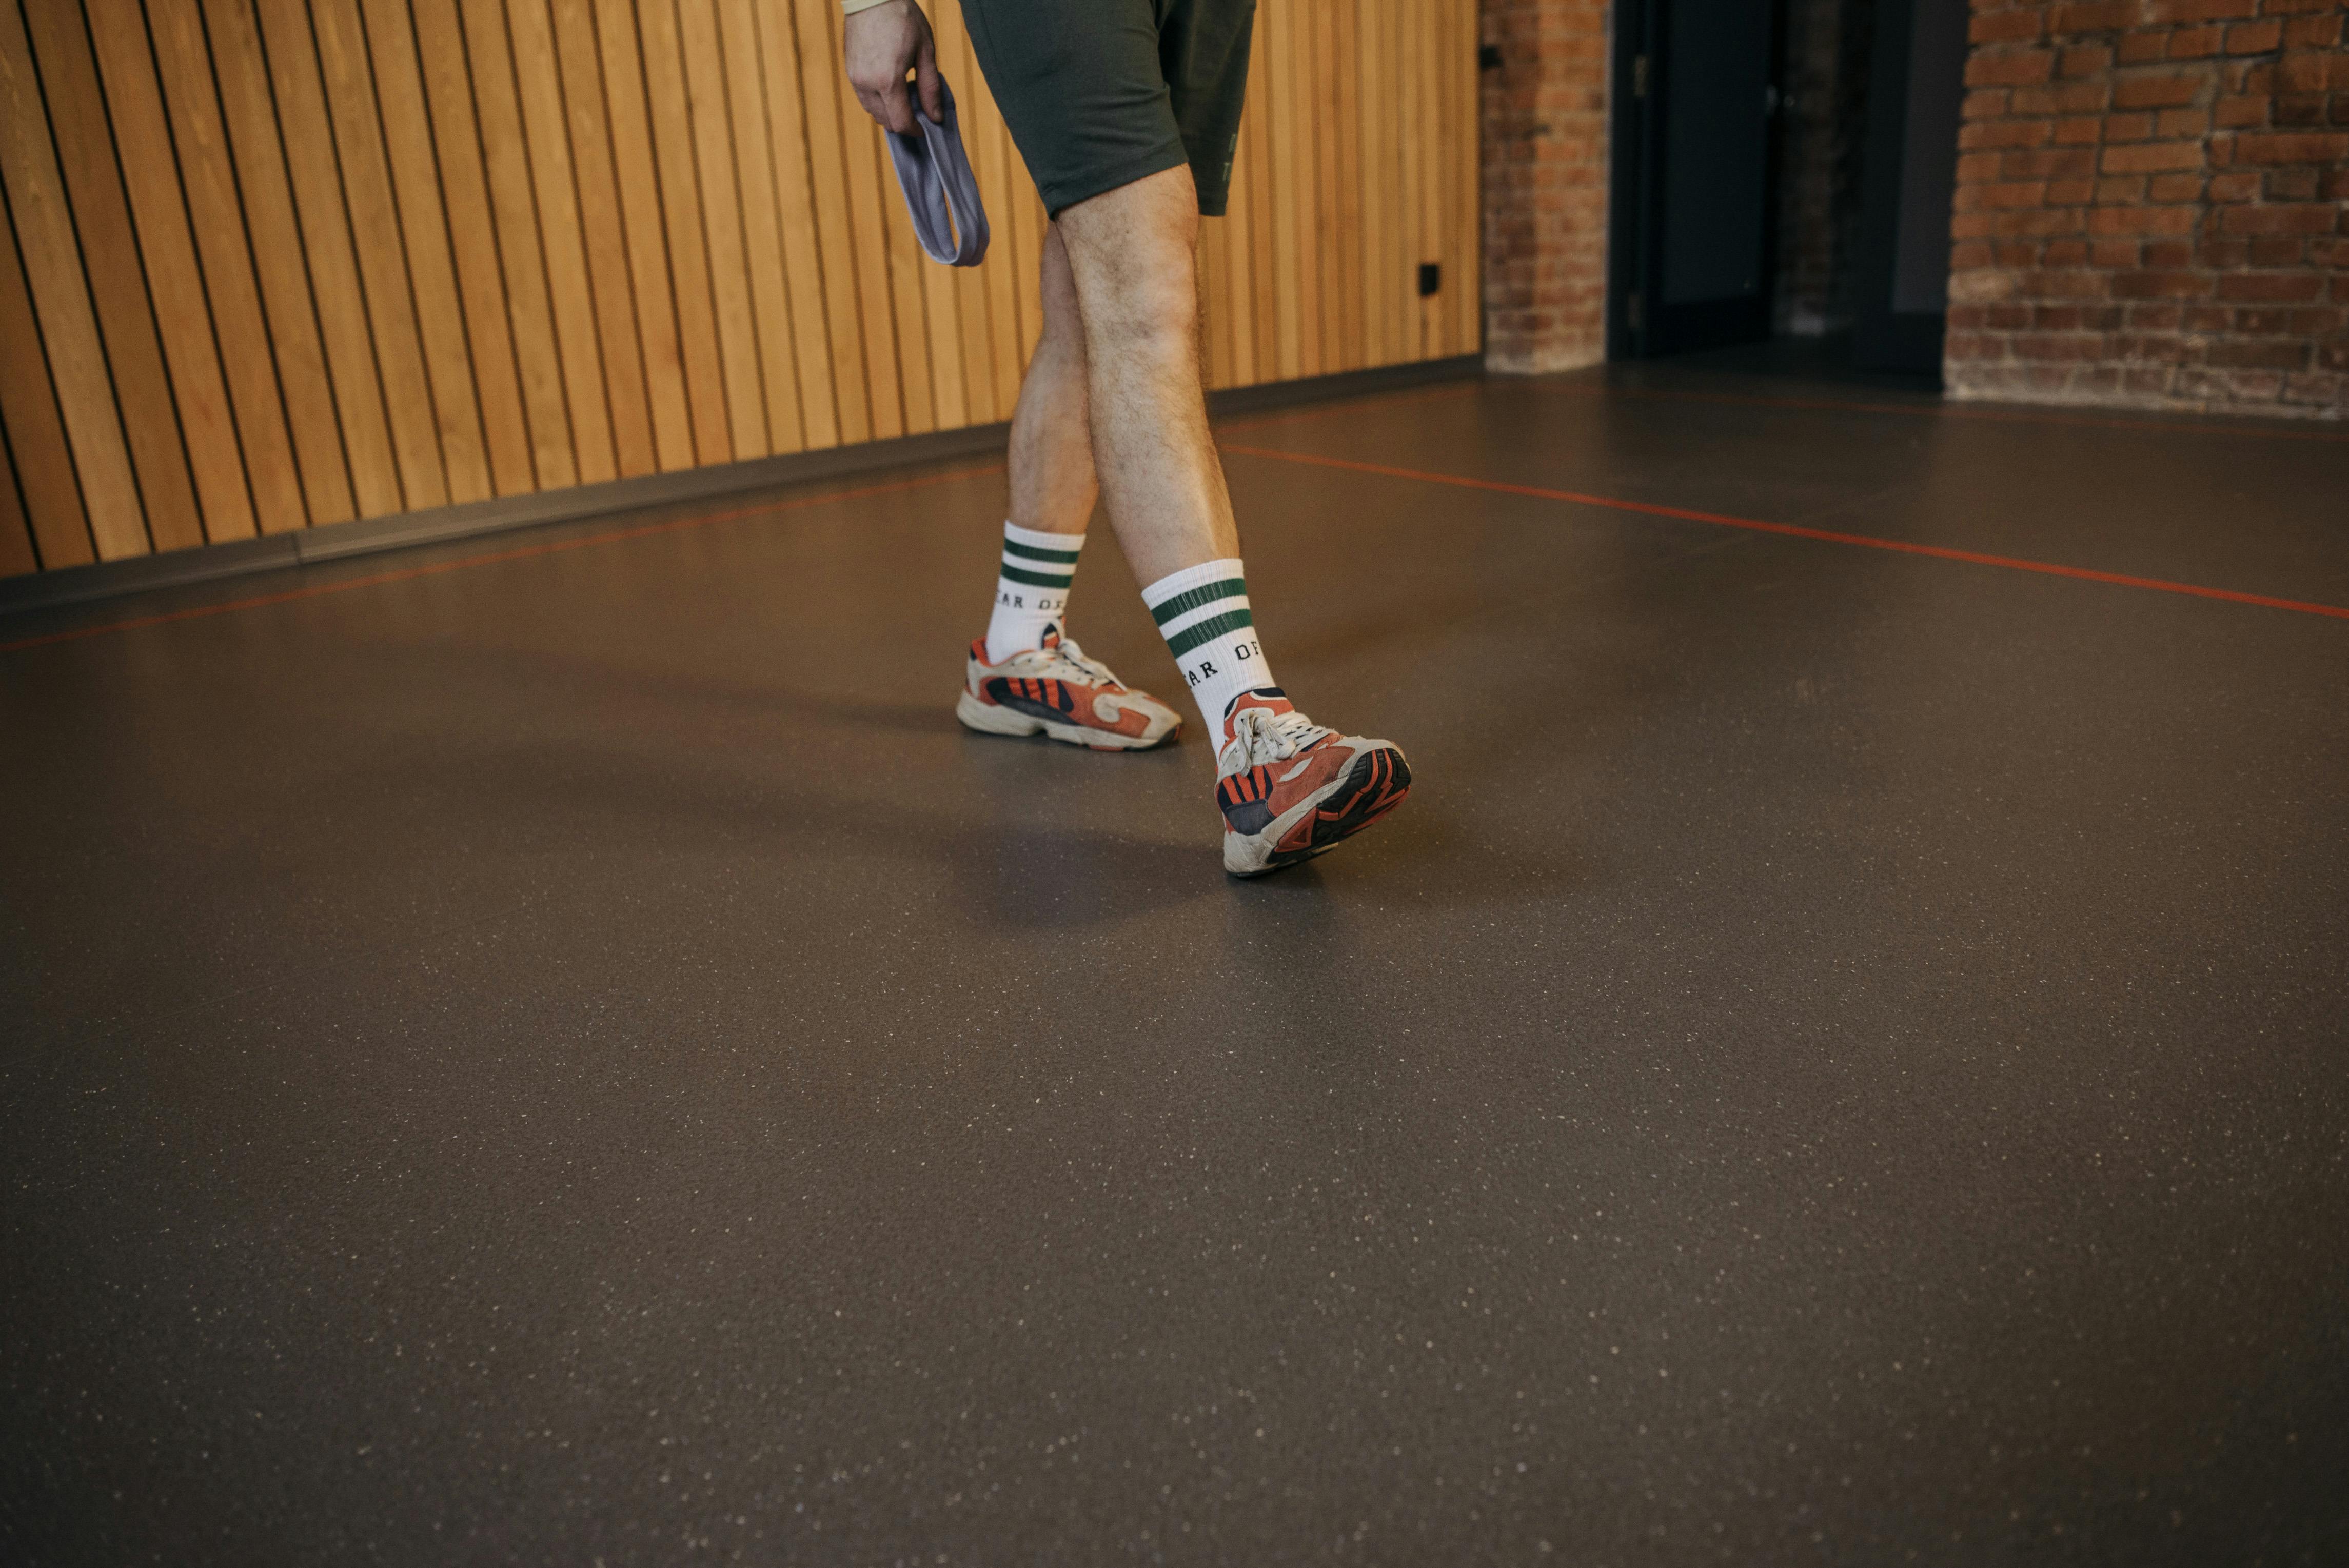
- A compression wrap allows the injured person to walk smoothly with the sprained ankle.
How To Wrap A Sprained Ankle
We will be looking at the practical ways of applying a compression wrap on a sprained ankle. To apply a compression wrap on an injury, there are 3 phases which must be completely adhered to. These 3 phases encompass the various steps involves in wrapping a sprained ankle. These 3 phases are:
- The first phase is the phase of preparation.
- The second phase is the phase of deciding the best available materials for wrapping the injured leg.
- The third phase involves successful wrapping of the sprained ankle.
Phase 1: Preparing to wrap
This phase involves getting the materials ready for wrapping the injury and every action taken to ensure a successful wrap of the sprained ankle.
Here are some of the vital steps which MUST be taken in this first phase to ensure the sprained ankle is successfully wrapped.
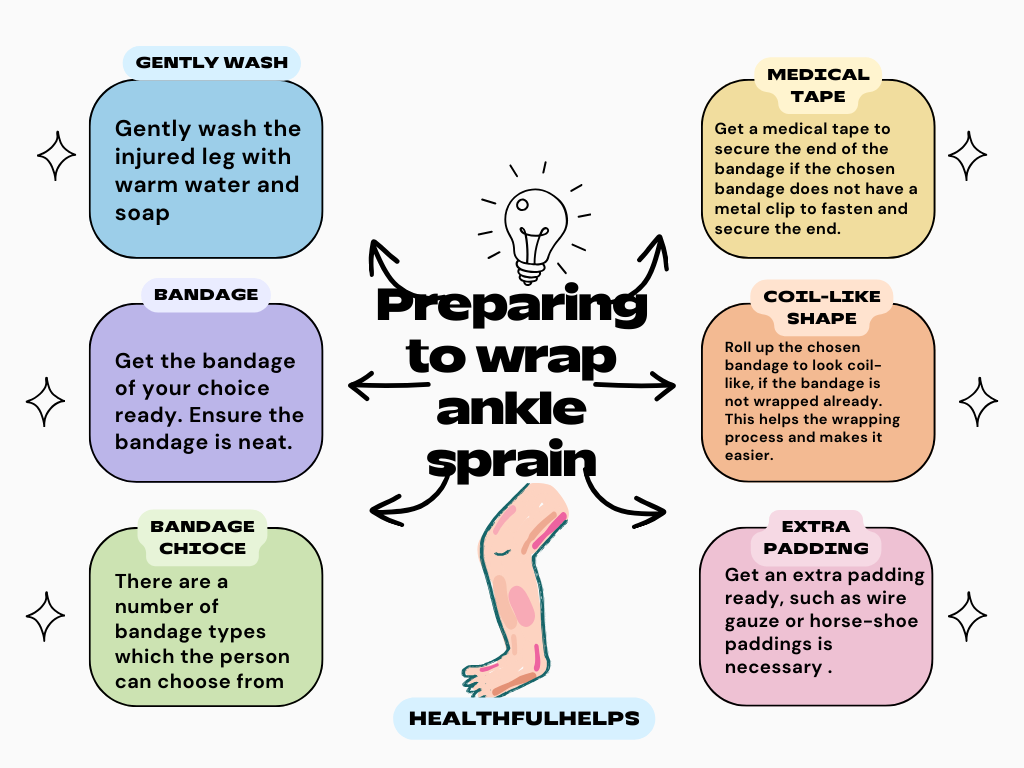
- Gently wash the injured leg with warm water and soap
- Get the bandage of your choice ready. Ensure the bandage is neat.
- There are a number of bandage types which the person can choose from for the process and this will be detailed in Phase 2.
- Get a medical tape to secure the end of the bandage if the chosen bandage does not have a metal clip to fasten and secure the end.
- Roll up the chosen bandage to look coil-like, if the bandage is not wrapped already. This helps the wrapping process and makes it easier.
- Get an extra padding ready, such as wire gauze or horse-shoe paddings is necessary .
Also read How To Walk On a Sprained Ankle Without Crutches
Phase 2: Selection of wrapping materials
There are a number of materials available for this process. In this phase, the best available material suitable for the process is chosen. Some of the steps to take take include:
- Decide the best bandage suitable for use. Many persons decide to use the Cloth Elastic Bandage which is usually known as ACE Bandage, this is most times, preferred to the athletic tape bandage as it provides comfort to the injured person.
The elastic cloth bandage also accommodates the leg if swelling occurs after wrapping the sprained ankle, as the cloth can stretch.
- The athletic tape bandage is also a type of bandage which can be used, although it is mostly used by individuals who engage in athletics, such as running.
This bandage is generally used for athletes who wish to prevent injuries while carrying out sport activities, but others also use it to wrap an injured ankle.
- It is best to use a wide bandage as it provides a broader surface area for wrapping the injured ankle. Bandages within the range of One-and-half to three inches (1½ - 3 inches) are good for use.
- Get your scissors ready. This will be used for cutting the bandage after wrapping.
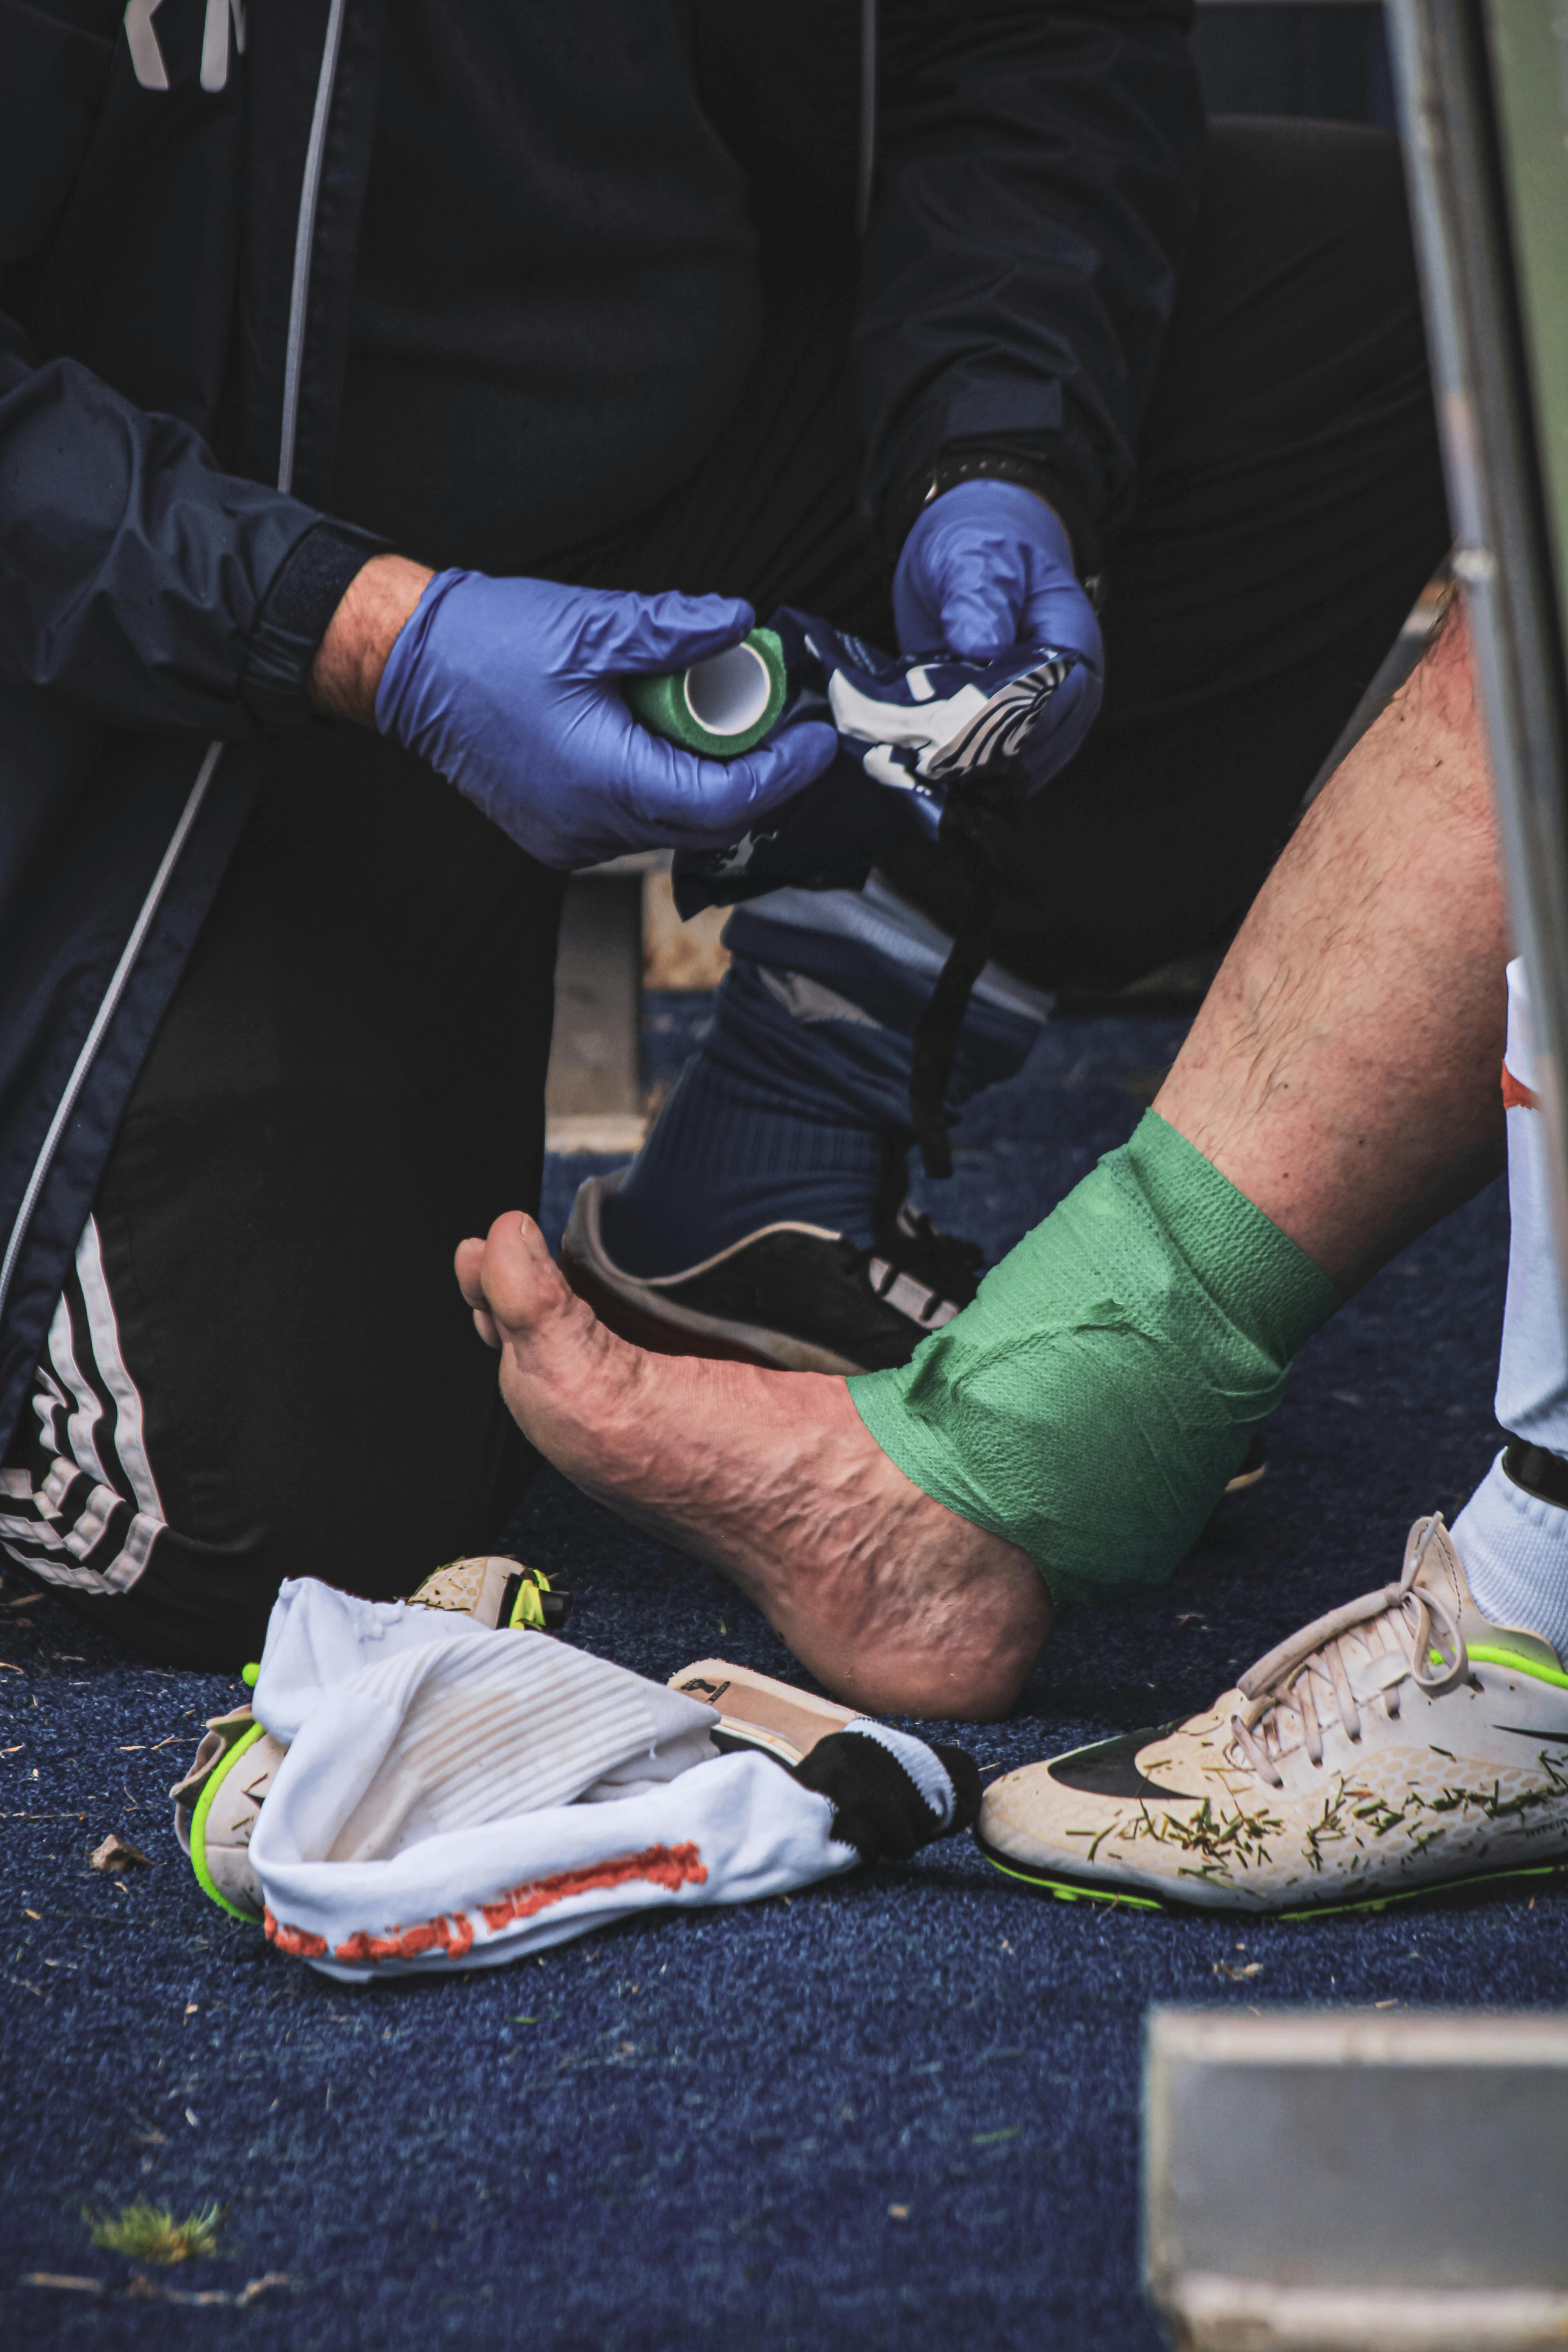
Phase 3: Wrapping Steps
Having passed through phase 1 (the phase of preparing to wrap the sprained ankle) and phase 2 ( phase of preparing the wrapping materials), it is time to wrap the sprained ankle.
Here is a step-by-step guide on how to wrap a sprained ankle:
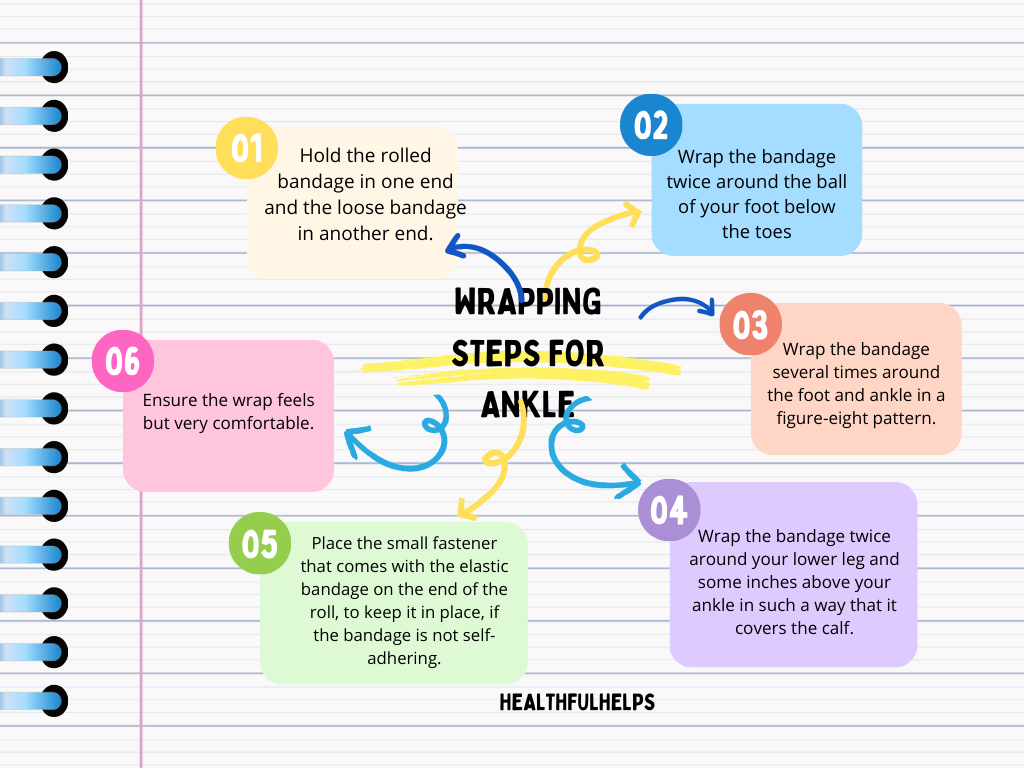
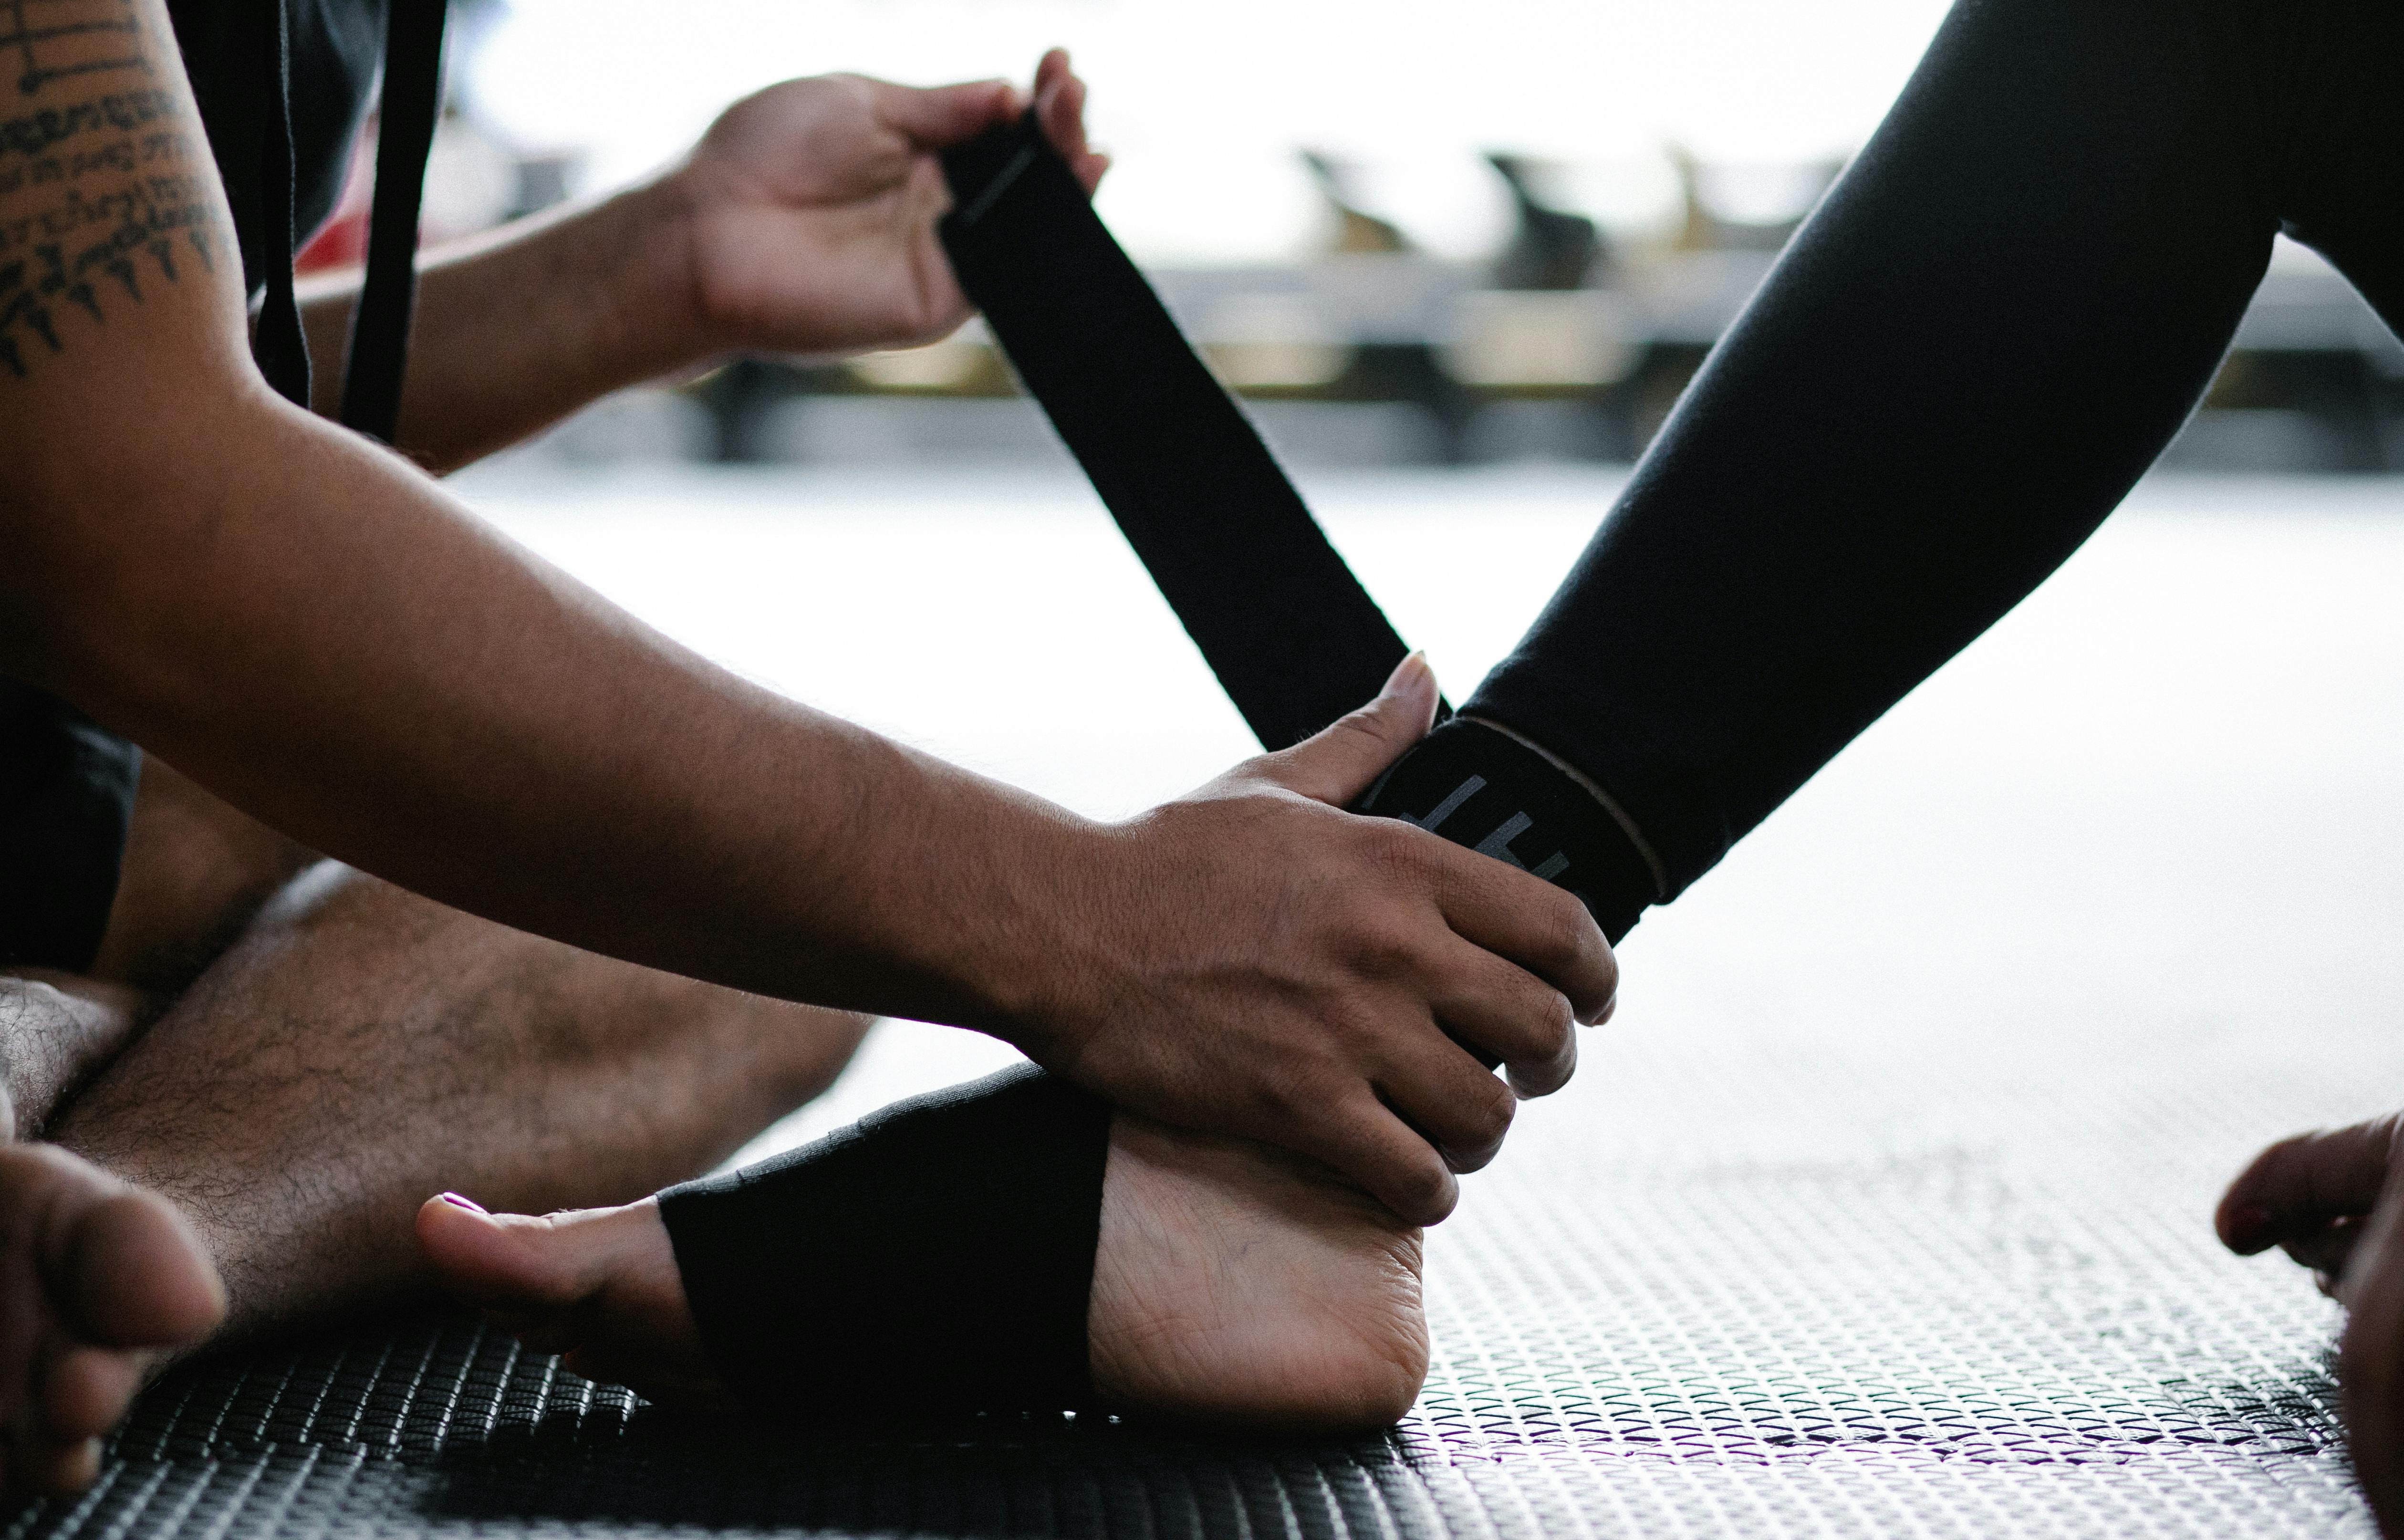
Step 1: Hold the rolled bandage in one end and the loose bandage in another end.
Step 2: Wrap the bandage twice around the ball of your foot below the toes
Step 3: Wrap the bandage several times around the foot and ankle in a figure-eight pattern. To perfectly do this, check below for the 5-step pictorial explanation of how this is done.
Step 4: Wrap the bandage twice around your lower leg and some inches above your ankle in such a way that it covers the calf.
Step 5: Place the small fastener that comes with the elastic bandage on the end of the roll, to keep it in place, if the bandage is not self- adhering.
Step 6: Ensure the wrap feels but very comfortable.
Sprained Ankle Recovery Time
The rate at which a sprained ankle heals is dependent on the severity of the injury and how well it is wrapped.
For instance, it takes a shorter time (about 6 weeks) for the healing of a sprained ankle involving just the bone while it takes months if the sprained ankle involves tendons, ligaments and muscles.
A very mild sprain heals in no time when properly treated.
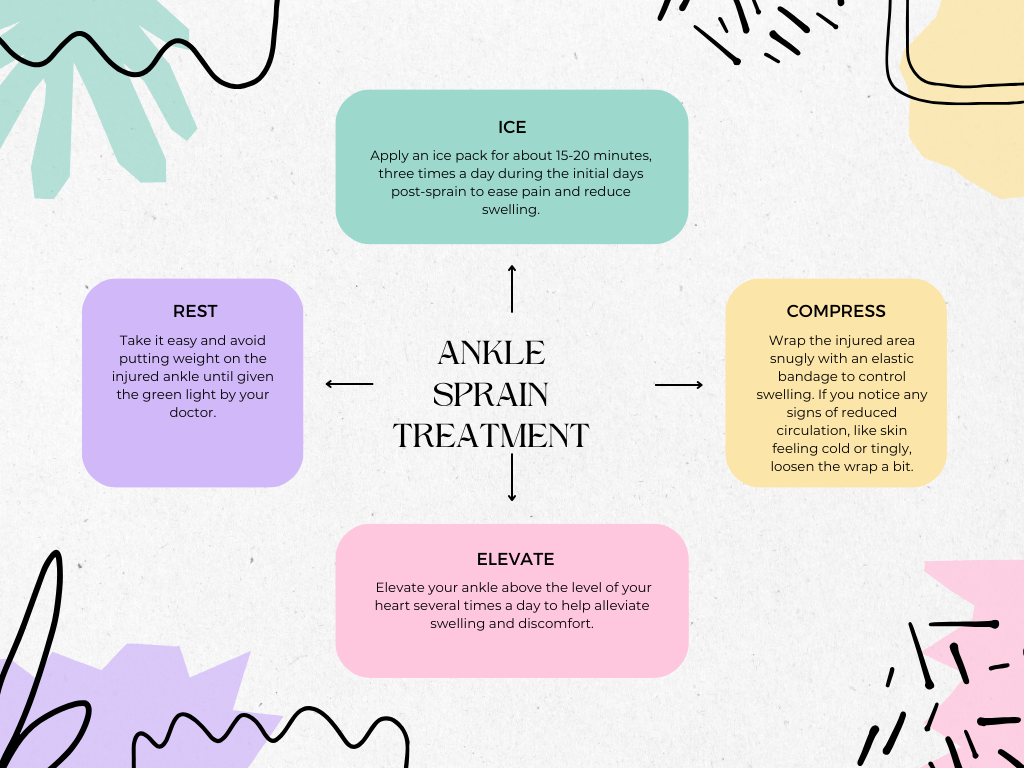
Some actions can be taken to speed up the healing rate of the sprained ankle; these sites include:
- Rest: Place the affected area in a position of rest without any pressure or weight bearing for a minimum of 24 hours. This speeds up the healing process.
- Icing: Reduce the pain and swelling of the affected ankle by applying Ice on it. Within the first 48 hours (2 days) of the injury, apply the ice on the affected area intermittently. The ice can be placed every 25 minutes within every 4 hours.
- Compression: Wrap the injured part with a cloth elastic bandage. This reduces bleeding rate and prevents swelling. The wrap shouldn't be too tight, as this can cause more pain, numbness and increased swelling.
- Elevation: Raise the injured or affected leg above the heart level. This enables the fluid to flow down from your leg as gravity comes into play.
Practicing these should foster and fasten the healing process of the leg.
Wrap Up
Sprained ankle injury is a very common and recurring injury, most common among athletes. It is very vital to understand the step-by-step ways of wrapping the injured leg as this can save the victim from experiencing very excruciating pains.
This article contains the Step-by-step guide to wrapping a sprained ankle and ways of fastening the healing process.
Do well to consult a Medical Doctor or Practitioner if the sprain is severe or symptoms persist after a good while.
Links to all Sources
References made for this article includes the following links:
- https://www.healthline.com/health/sports-injuries/how-to-wrap-a-sprained-ankle
- https://health.uconn.edu/msi/clinical-services/orthopaedic-surgery/foot-ankle-and-podiatry/ankle-sprain/#:~:text=A%20sprained%20ankle%20is%20a,sports%20and%20physical%20fitness%20activities.
- https://upmc.ie/blog/orthopaedic-care/how-to-use-the-r-i-c-e-method-for-treating-injuries#:~:text=What%20Is%20the%20R.I.C.E%20Treatment,get%20back%20to%20everyday%20activities.
- https://www.medicalnewstoday.com/articles/how-to-wrap-a-sprained-ankle
Related Knee Sprains: Must-Know Details Revealed(Treatment and Causes)